Strawberry House Floor



 (I am putting * after phrases which are pictured)
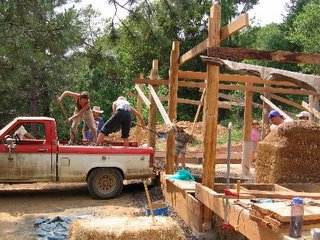
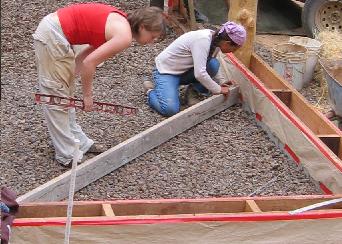
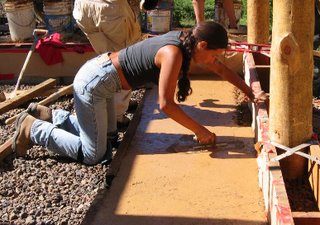
We poured an adobe floor last Thursday, it was quite a lot of work but there were a bunch of us helping. Before we got to the stage of pouring all the lava rock which needed to go under it had to be hauled up to the house site and shoveled into place*, it then had to be leveled* and tamped down* so it would not settle much after the floor was in place. The apprentices really worked hard to make all that happen. The crib was also partially filled with lava rock coated in a clay slip* and that had to be tamped as well.
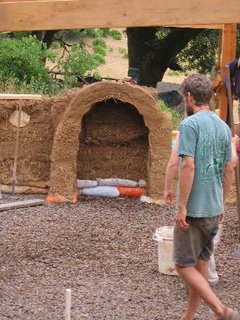
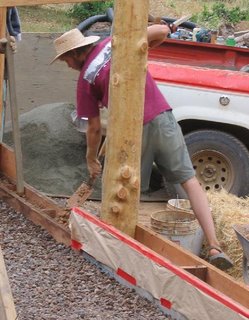
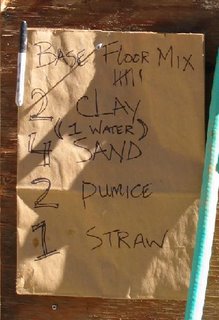
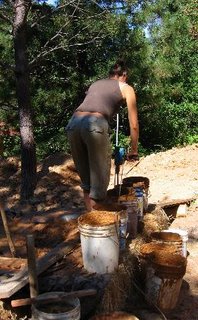
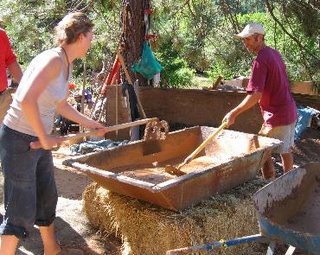
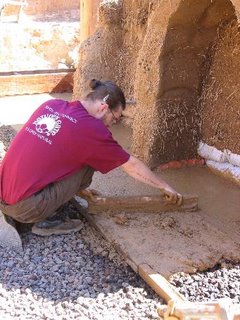
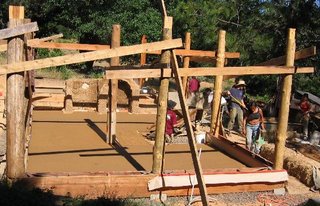
The night before the pour we mixed up a few batches of adobe floor so the next morning some people could start applying it while others mixed up more*. We also whipped up a bunch of buckets of soaked clay soil and water*, which is one part of the recipe, using a paint mixer attachment to an electric drill. The recipe was posted* in case anyone forgot it, we used 3/4 of a bucket as one part, a full bucket is too heavy, except for the straw where we used a full but not compressed bucket, and the water was a little less than 3/4s. We started with the clay and water then added ingredients* in order making sure the last one was mixed in before adding a new one. Once it was mixed up it was put on the floor, either by the wheelbarrow full or using a shovel or hands. It was applied to a wet down section of gravel between two 2 inch boards which were carefully leveled both with the board behind it and with itself so they could be used to measure the height of the floor (we wanted it to be 2 inches high), then the mix was pushed down into the gravel with hands and a board was used with one edge on the board behind and one on the board towards you to even out the mix*, there were normally some holes you had to fill in after that, often caused by the larger lava rocks in the mix, then the floor was smoothed out with a trowel*. Once you had a section between boards filled and smoothed you removed the far board, filled that space in with more mix and troweled it smooth, put the board you had just taken out in front of the previous front board, leveled it and started over again on a new patch of floor. There were usually 4 people working on this part of the job at the same time, we started from both sides and worked toward the middle then forward toward the door when the sections got close. When I left at 5pm to go back and cook dinner it was almost done*. I was told that by 6pm they were done and the site was cleaned up, we started about 9am after a brief lesson on how to apply the mixture, having learned about mixing it the night before, and took an hour and a half lunch break in the middle, so a pretty long day. I think 10 of us worked on it for almost all that time. It now needs to not be walked on for 5 days or so until it dries.
It is only the first layer of floor, two more will be added later, after the walls are done and tools and other stuff are less likely to fall on it and dent it or stick to it. Then a few coats of linseed oil will be applied to make it water resistant.

0 Comments:
Post a Comment
<< Home