Plastering at Deleh's


Deleh's very beautiful house has been being worked in for a few years mostly slowly. She added a lot of beautiful details like putting a lot of bottle into the walls to let light in and look cool. Seeing the colored light through them is pretty, like stained glass. She has been living in it for quite a while but the downstairs is not done, but it will be soon. We, mainly Deleh and work traders, have been working on getting the finish plaster applied. The plastering needs to be done before the final floor pour. The last layer of the poured adobe floor is going to be applied by the apprentices next week.
You can see how much nicer the wall looks after the plaster by comparing the photos of the bas relief dragon over the hearth. Plastering details like that is quite hard and Deleh did them all herself. She was also able to add the teeth and eye to the dragon once the final plaster was applied.
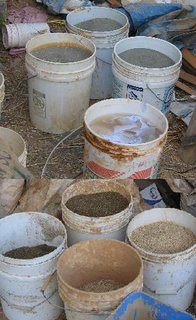
Finish plaster is applied in a thin layer which is often supposed to be very smooth, some people want a certain texture though. It also is not supposed to have cracks or visible lines. After it dries it can get painted with a natural paint. Since finish plaster is supposed to be so smooth the mixture is more finely chopped and sifted. For the mix we used we screened dried horse manure and chopped straw through a 1/8 inch screen, sand and clay through a 1/16 inch screen, the sand is better even finer. We also used paper pulp we made by tearing up used paper given to us by offices then soaked it in water and finally mixing it and shredding it with a paint mixer attachment for a drill, the same one used to make clay slip. It needs to be pretty shredded so there are no large chunks. The other ingredient for this plaster is wheat paste. We make wheat paste here by boiling 4 parts water, mixing 2 parts cold water with 1 part wheat flour, then adding it to the boiling water.
The plaster recipe is:
3 parts clay soil
3 parts sand
2 parts paper pulp
1 part chopped straw
1 part manure
1/2 part wheat paste
a little bit of borax
and some water until the right consistency.
We used 5 gallon buckets as measures, with one 3/4 full as one part.
The straw, manure (which is basically very finely chopped straw), and paper pulp are for fiber to help hold it together, the clay and wheat paste make it sticky and the sand makes it crack less, and the borax acts as a mold repellent, at least that is my understanding. The paper being white also lightens it some, and the manure has some stickiness when it gets wet in the mix.
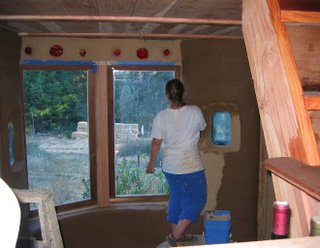
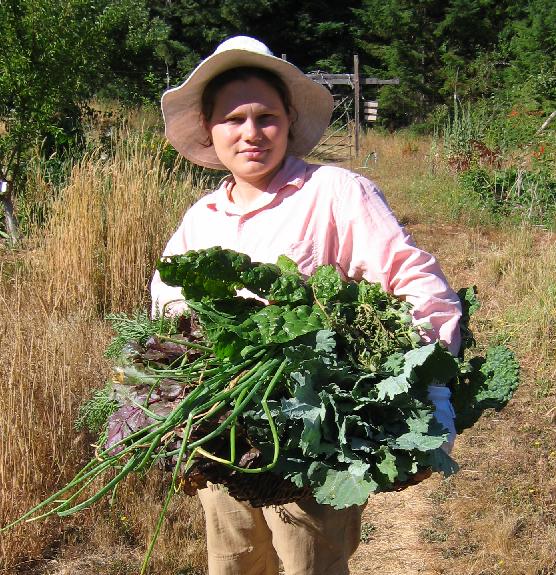
I started around an oval window, which was a tough place to learn, flat walls are much easier. I also didn't have a lot of time each of the first few times I plastered, the first time we took a while mixing up the plaster. I forget why I had so little time to work during the second plastering session, but that makes it hard since joining edges that have dried without leaving lines is so difficult. The plaster dries lighter, so the darker sections are just finished. (Sorry for the bad quality of the photos of me. I have been told you all want to see pictures of me, not just landscapes and other people. The person in the last photo plastering in Deleh and Greta is screening dried manure which had been put through the chipper/shredder. The photo of someone's hand sifting is me.)


1 Comments:
This is not how finish plaster should be applied. You really want to apply a whole wall all in one day. That way you won't have lines where you had to join your newly applied plaster to the older dry plaster. It is best to do a whole area between edges of some sort, posts, windows, etc, all without a break, or taking turns so the edge is never allowed to dry.
Post a Comment
<< Home